Create a Workflow Type Using the Workflow Wizard
In the past, creating a workflow was made challenging because there was a lot of plumbing that was required in order to create the workflow type, and if you didn’t have it all just right then you spent forever trying to track down the problems. With the introduction of Dynamics AX 2012 though a wizard was added to the AOT tools that does almost all of the work for you so that you don’t have to be an experienced developer in order to create workflow templates.
NOTE: This is part of the Developing a Product Approval Workflow in Dynamics AX 2012 blog series where we show how to develop a completely new workflow to manage the new product approval process. If you want to see all of the other posts in this series, click here.
How to do it…
To use the Workflow Wizard to create almost all of the framework required for a workflow, follow these steps:
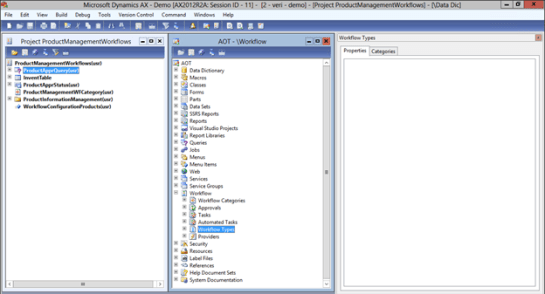
- Open up the AOT explorer, and expand out the Workflow node so that you can see the Workflow Types folder.
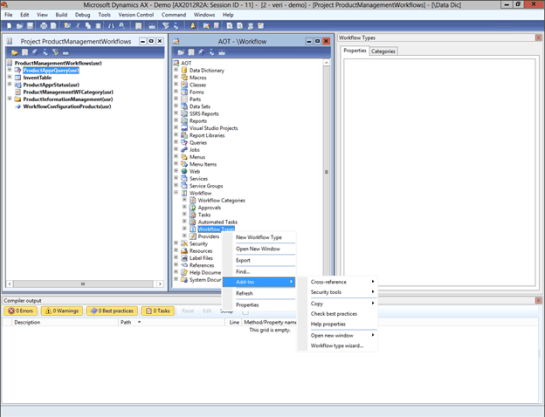
- Right-mouse-click on the Workflow Types and select the Workflow type wizard from the Add-Ins menu.
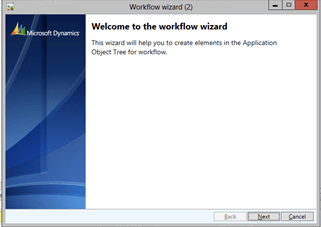
- This will start the Workflow Wizard. Click on the Next button to skip the welcome screen.
- When the Create workflow type dialog page is shown, type in ProductApproval into the Name field.
- Select the workflow category that we set up in the earlier stages (ProductManagementWFCategory) from the Category dropdown.
- Select the workflow category that we set up in the earlier stages (ProductManagementWFCategory) from the Category dropdown.
- Select the workflow category that we set up in the earlier stages (ProductManagementWFCategory) from the Category dropdown.

- Once you have selected the options for the Workflow Wizard, click on the Next button to move to the next step.
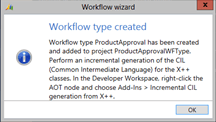
- When the confirmation box is displayed, just click on the Finish button to create the workflow type.

- If everything is OK, then you will be able to see a new project has been created, and you will be warned that you should run an incremental CIL generation. Click the OK button to exit.
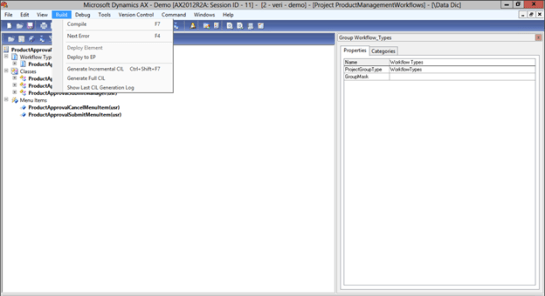
- When you return to the new project, select the Generate Incremental CIL option from the Build menu.
- After a short amount of time, the build should complete and you can continue on.

Reblogged this on Блог Антона Палихова.