Configuring Service Order Stages
If you want to track the lifecycle of your Service Orders then you can easily do this through Service Order Stages. These allow you to define the stages that your Service Order will progress through, what transactions can be performed at any of the stages, and also when the Service Order is closed or not.
NOTE: This is part of the Configuring Service Management to track Service Orders blueprint series where we show how to configure Service Management to track service order details. If you want to see all of the other posts in this series, click here.
How to do it…
To configure your own Service Order Stages, follow these steps:
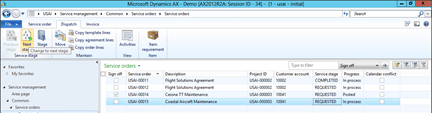
- From the Service management area page, select the Service stages menu item from within the Service orders folder of the Setup group.
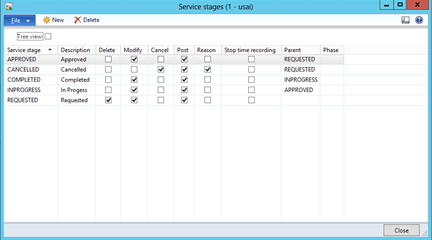
- When the Service stages maintenance form is displayed, click on the New button in the menu bar to create the initial stage.
- Give your stage a Service stage code, and a Description.
- Then mark the valid operations that can be performed at the stage.
- Note: You can use the Service Stages to manage when lines can be posted, if deletions are allowed and a lot more.
- Continue adding additional stages to your Service stages, but for each additional stage, you will need to specify the parent Service stage.
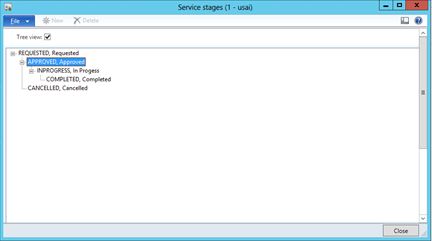
Note: If you check the Tree view check box, then you will be able to see the complete route for the stages.
How it works…
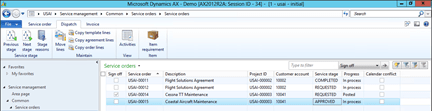
To change the state of the Service Order, just select the record, and then click on the Next Stage button within the Service stage group of the Dispatch ribbon bar.
If you have defined multiple options for the next stage in the process, then you will be asked which stage you would like to move the Service Order into. Select the option, and then click the OK button.

Now you will see that the Service stage for the Service Order has change the next stage in the process.