Create A Store Warehouse
Before we set up the Store, we need to quickly create a Warehouse that we will use to manage the store inventory. This will be replenished from our main warehouses, but will allow the store managers and users to use the POS system for cycle counts, and also allow all of the organization to view the available inventory separated out by store.
NOTE: This is part of the Setting Up A Retail Store With POS blueprint series where we show how to configure the retail module within Dynamics AX, and then deploy out the Point Of Sale registers for capturing sales. If you want to see all of the other posts in this series, click here.
How to do it…
To create a store warehouse, follow these steps:
- Open up the Warehouses menu item from the Inventory breakdown folder of the Setup group on the Inventory and warehouse management area page.
- From the Warehouses form, click on the New button to create a new Warehouse record.
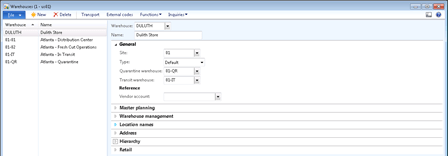
- Give your Warehouse a code and a name. In this example, to make things easier to link up, I have used the city name as the Warehouse code. Then assign the warehouse to a Site, and if you are using Quarantine and Transit warehouses then register those against the new warehouse as well.
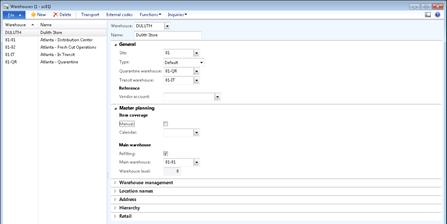
- In the Master Planning section, check the Refilling check box, and select a Main Warehouse. This will designate the warehouse that is going to be used to supply your store for planning purposes.
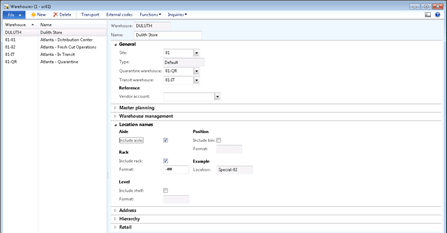
- In the Location names group, configure your location types and numbering sequences. For my warehouse I am going to create Aisles and Racks for the store. I don’t think we need much more than that for our example.
- Now we need to create the Inventory Locations. We could copy these from an existing warehouse, but since we don’t have any currently configured, we will use the Location Wizard that you will be able to access from the Functions menu to help us built the locations.

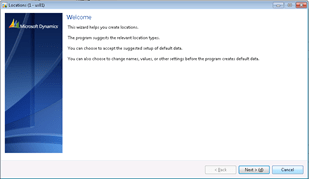
- When the Location Wizard form shows up, just click Next through the Welcome screen.
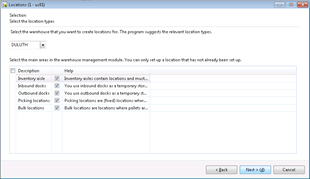
- Check all of the option boxed for the Location Types and then click Next.
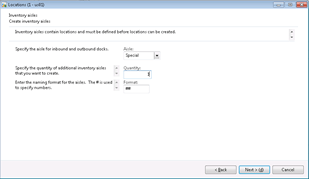
- Select the number of Special
Aisles that you want in your Store Warehouse. In this example, we just want 1.
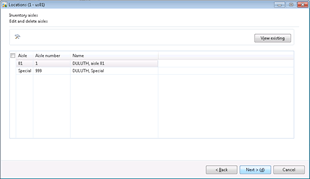
- Click Next to confirm the suggested Inventory Aisles.
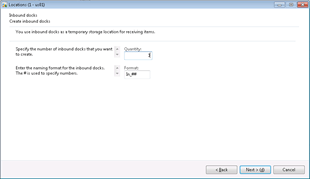
- Now select the number of Inbound Docks for the Store. We will just have 1 for ours. Then click Next.
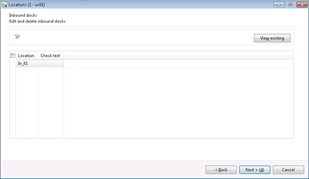
- Click Next to confirm the suggested Inbound Docks.
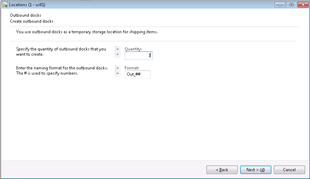
- Now select the number of Outbound Docks for the Store. We will just have 1 for ours. Then click Next.
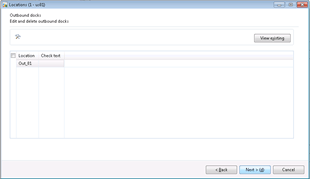
- Click Next to confirm the suggested Outbound Docks.
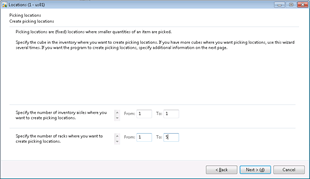
- Now select the configuration of your Aisles and Racks for the Picking Locations. This form will change based on your Warehouse location configuration. For this example. We will just create one Aisle with 5 Racks for the inventory. Then click Next.
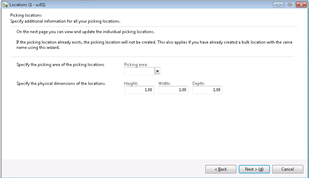
- If you want you can specify the physical dimensions for the picking locations racks, and also the default picking locations. After doing that click Next to continue on.
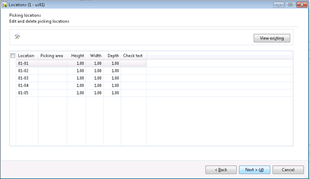
- Click Next to confirm the suggested Picking Locations.
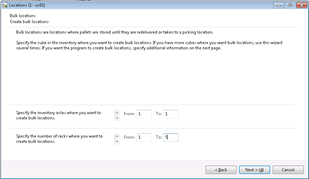
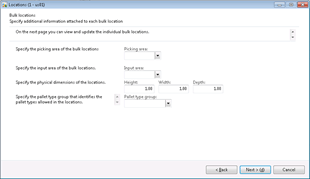
- Now select the configuration of your Aisles and Racks for the Bulk Locations. This form will change based on your Warehouse location configuration. For this example. We will just create one Aisle with 5 Racks for the inventory. Then click Next.
- If you want you can specify the physical dimensions for the bulk locations racks, and also the default picking locations. After doing that click Next to continue on.
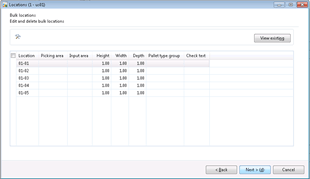
- Click Next to confirm the suggested Bulk Locations.
- Now that the locations for your Store Warehouse have been created, you can configure your Warehouse management group with the default locations.
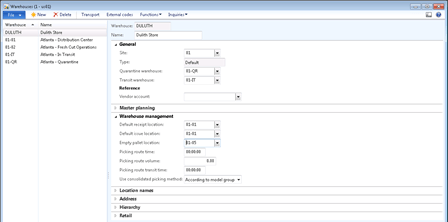
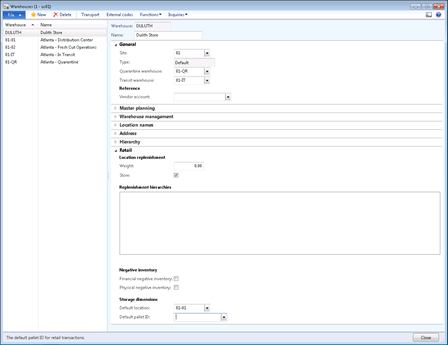
- Finally, we will just need to go to the Retail group on the Warehouse record and check the Store checkbox to mark the warehouse as a Store Warehouse.