Creating a New Vendor Request via the Employee Self Service Portal
Once you have the Vendor add justification workflow defined, users are able to request new vendors through the Employee Self Service Portal and then submit them for approval.
NOTE: This is part of the Configuring and Using Vendor Requests blueprint series where we show how to manage the vendor on-boarding process through Dynamics AX and the web portals. If you want to see all of the other posts in this series, click here.
How to do it…
To submit new vendor requests through the Employee Self Service Portal and then submit them for approval, follow these steps:
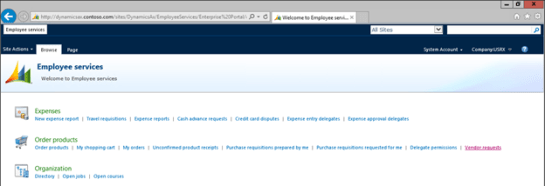
- New Vendor Requests are initiated from the Employee Self Service Portal by clicking on the Vendor requests link within the Order Products group.
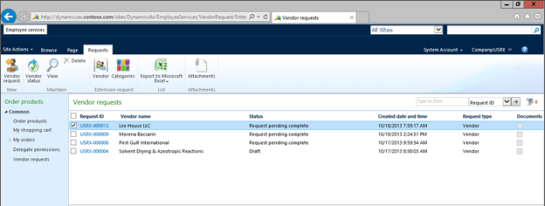
- When the Vendor requests form is displayed, click on the Vendor request button within the New group of the Requests ribbon bar.
-
When the New vendor request dialog box is displayed, fill in the Vendor Name, and also the First name and Last name of the main contact that you have for the new vendor.
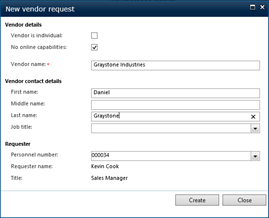
Note: In this example we also checked the No online capabilities box to simplify the process. At the end of this walkthrough we will show what additional steps are enabled when this checkbox remains unchecked.
- After you have filled in the basic information, click on the Create button to create your new vendor request.
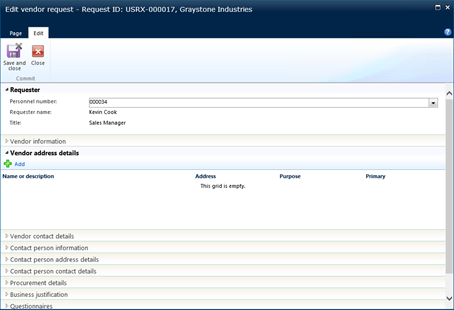
- This will now take you to a more detailed form where you can start filling out more information about the vendor. Start off by opening up the Vendor address details tab, and clicking on the Add button to add a new address for the requested vendor.
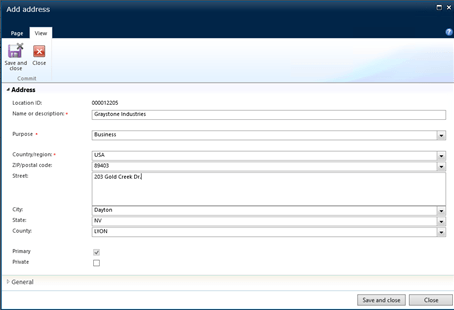
- Update the address details for the vendor request and then click on the Save and close button to return to the maintenance form.
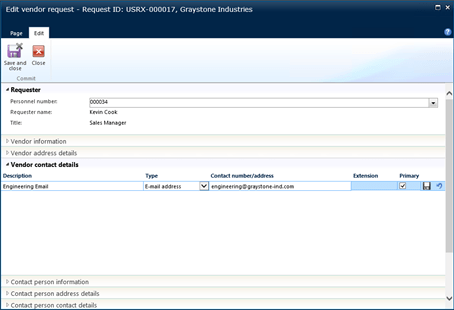
- Then open up the Vendor contact details and add any relevant contact information like e-mails and phone numbers.
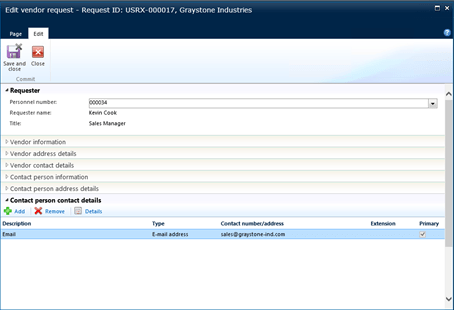
- If you have personal contact information for the contact person, then open up the Contact person contact details tab, click on the Add button and add that information as well.
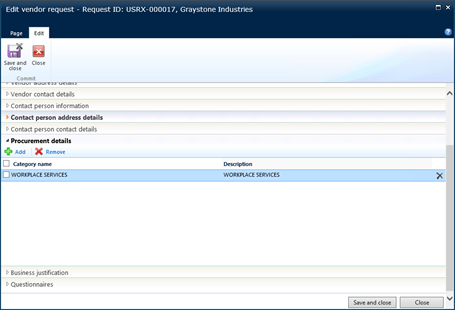
- We need to add at least one entry in the Procurement details category list.
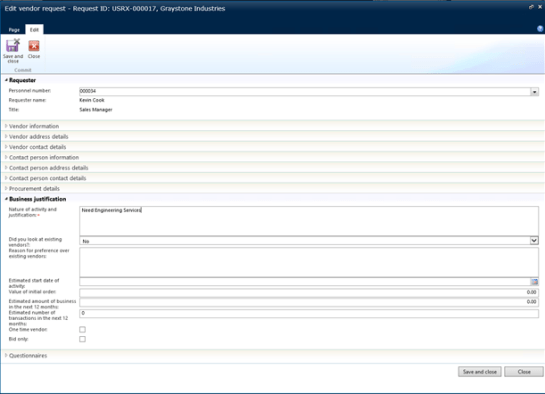
- And finally open up the Business justification tab and fill in any of the information that the Purchasing department have configured as a justification checklist.
- When you are done entering in all of the shell information for the vendor request, click on the Save and close button to update the information.
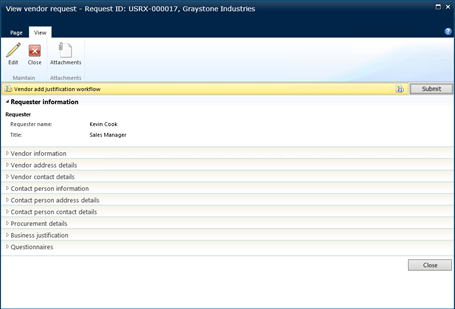
- Once you have saved the data, then you will be able to see a Submit button in the workflow toolbar. To start the approval process, just click the Submit button.
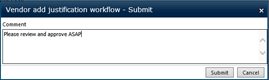
- If you have any comments that you want to attach to the submission then you can add them in the Comments dialog box, and then click the Submit button.
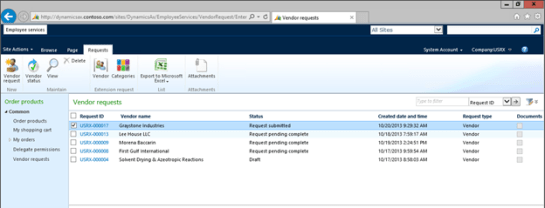
- Now you will be able to see your new vendor request, and also see the status of the request which should be Request submitted.