Creating a Tabular Update Template in Excel Using Matrix Fields
Having all of the prices and costs listed out is good, but it’s not very usable for updating the costs when the values are related. To make the template more useful, we will use the Matrix Fields options within the Dynamics AX Add-In for Excel to create summary price fields that we can update in a tabular format.
NOTE: This is part of the Creating an Excel template for Updating Product Costs and Prices blog series where we show how to create a template within Excel to update product costs and prices. If you want to see all of the other posts in this series, click here.
How to do it…
To create a tabular worksheet for updating the item costs and prices, follow these steps:
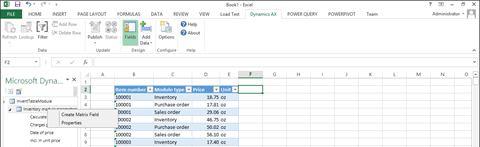
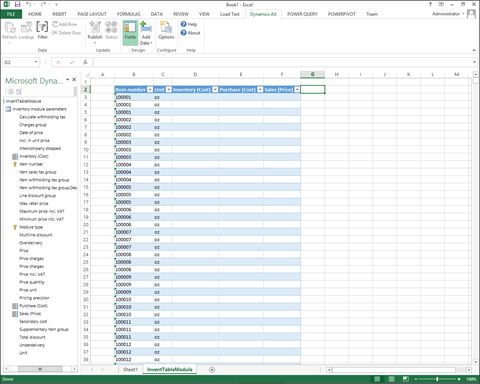
- Right-mouse-click on the field group header within the Dynamics AX field explorer and select the Create Matrix Field menu item.
- When the Create New Matrix Field dialog box is displayed, set the Name field to be Inventory (Cost).
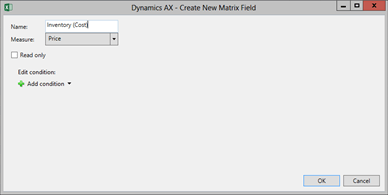
- Then click on the Add condition button to create a new filter condition.
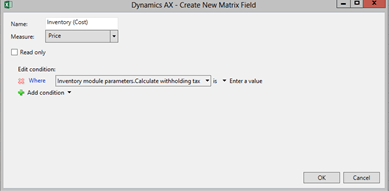
- Change the field to be Inventory module parameters.Module type.
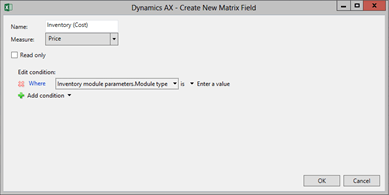
- Then set the comparison value to be Inventory.
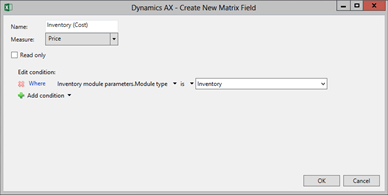
- When you have done that, click the OK button to create the field.
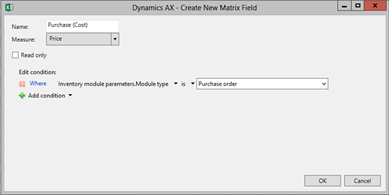
- Repeat the process to create a new field called Purchase (Cost), with a module type of Purchase Order.
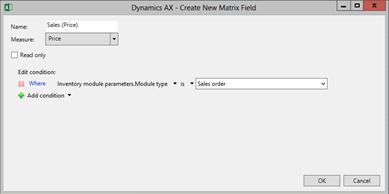
- And repeat the process one more to create a new field called Sales (Price), with a module type of Sales order.
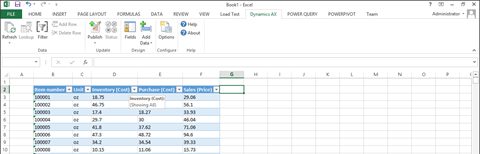
- When you return to the worksheet, delete the Module Type and Price columns.
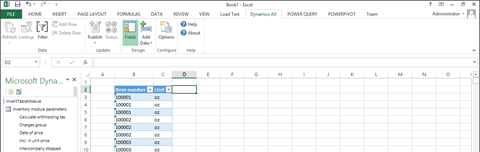
- And add in the new matrix fields that you created. i.e. Inventory (Cost), Purchase (Cost), and Sales (Price).
How it Works…
Now you will be able to see all of the costs and prices in one line for each of the products.
To use this template, I created a simple worksheet to the side of the Dynamics AX linked table where I calculated the costs and prices for each of the products.
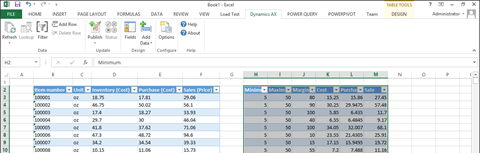
Since this is just Excel, we can easily copy and paste the calculated data over into the Dynamics AX linked table.

Then to update all of the records within Dynamics AX, just click on the Publish button within the Update group of the Dynamics AX ribbon bar, and select the Publish all option.
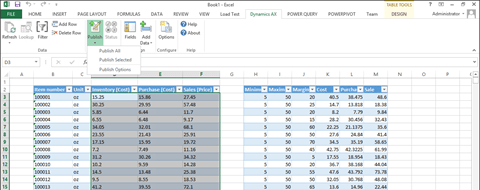
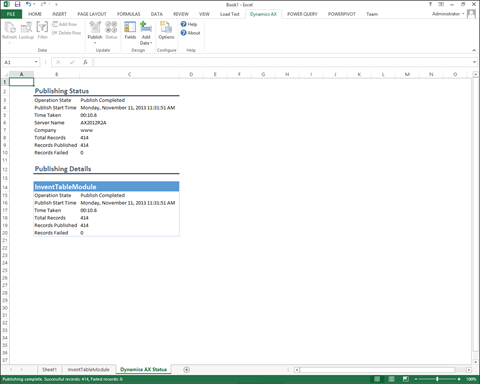
After a few seconds, the worksheet will update the records, and if you select the Dynamics AX Status worksheet you will be able to see how many records were updated, and if there were any error.
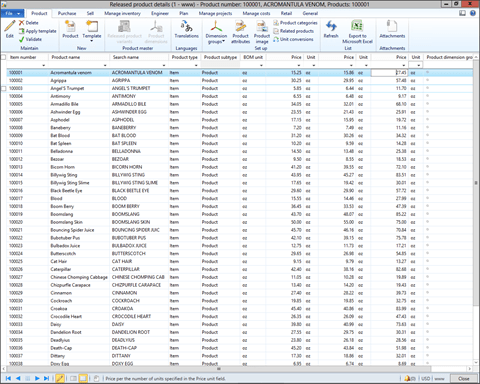
Returning to Dynamics AX, you will notice that all of the costs and prices have changed.

Reblogged this on Блог Антона Палихова.